If your new to candy making or using a drop roller, then this straight forward hard candy recipe and process will get your started. Designed for artisan producers who prefer the personal touch of crafting small batches by hand, this method can also be effortlessly adapted for larger, automated industrial production. But what if you’re new to candy making, or need help developing unique recipes or optimising your manufacturing methods?
That’s where Loynds comes in. We are experts in candy making equipment and have years of experience helping candy makers of all levels to manufacture different confectionary. From recipe development to machinery and equipment, we can help you every step of the way. So don’t hesitate, give this hard candy recipe a try and see for yourself how easy and fun candy making can be. And if you need any assistance, please don’t hesitate to Contact Us.
INGREDIENTS
- 60 Parts White Granulated Sugar
- 40 Parts Liquid Confectionery Glucose (Corn Syrup) Golden Syrup can be substituted if required.
- Water (just enough to cover the sugar in the pan)
- Liquid Colour
- Liquid Flavour or Essential Oils
- Citric Acid (for making fruit flavours only)
EQUIPMENT
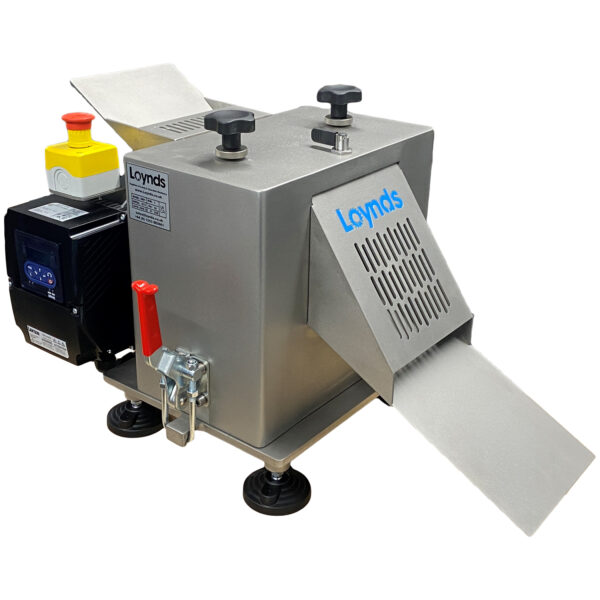
- Drop Roller Machine
- Fan (domestic fan for small batch production)
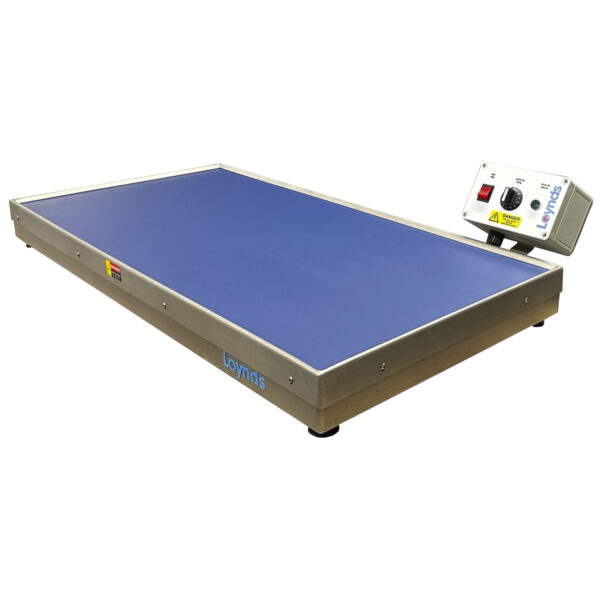
- Cold Table (or Granite / Marble worktop)
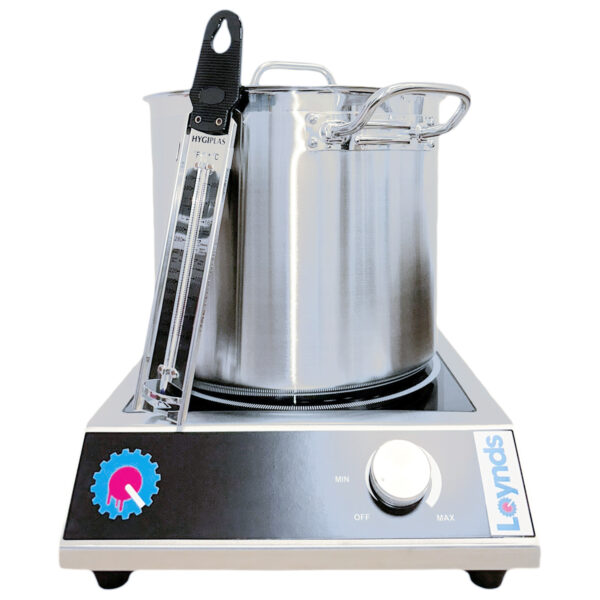
- Induction Hob
- Measuring Syringes or Cups with your Liquid Colour & Flavour in
- Boiling Pan
- Sieve
- Scraper
- Tumbling Bucket
- Hot Table
- Stirring Spoon
- Candy Makers Gloves
- Dustpan and Brush
- Plastic bowls for holding soft candy in
- Calibrated Scales
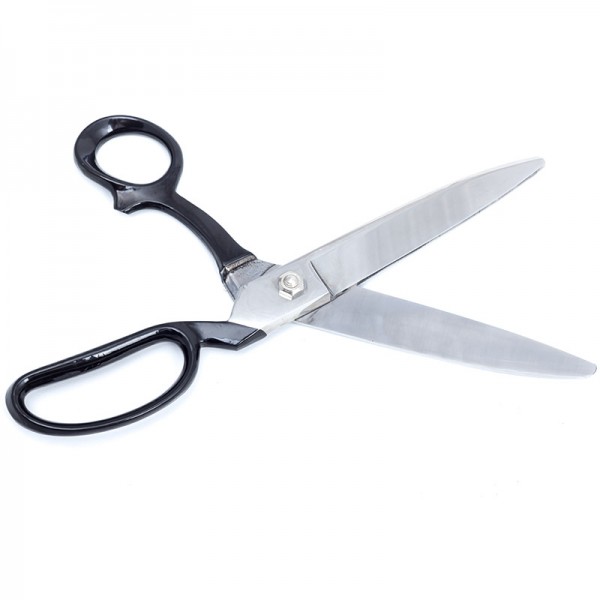
- Candy Shears
- Rolling Pin
CANDY MAKING PROCESS
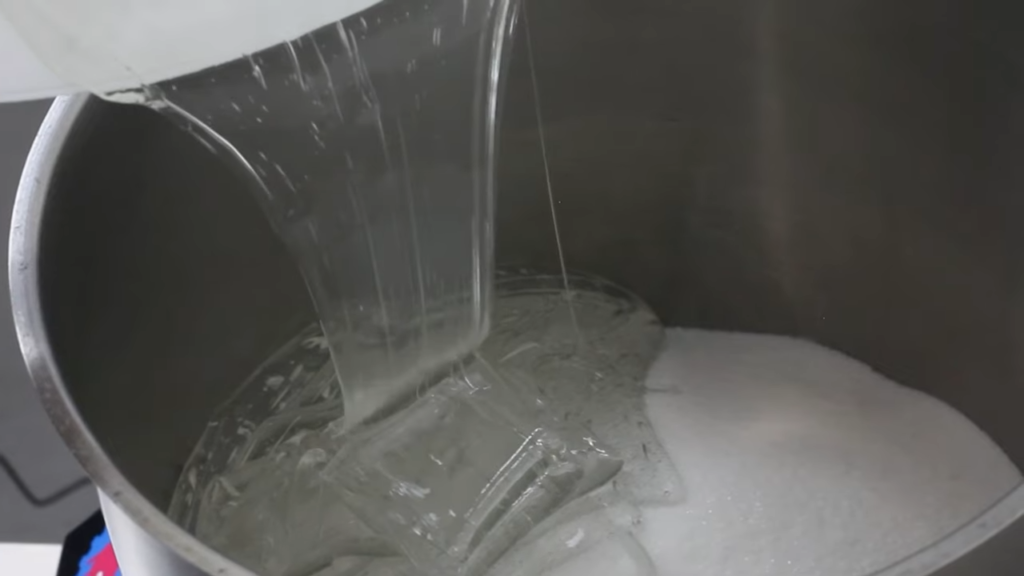
In a high sided pan, add 60 parts sugar and then pour just enough water to nearly cover the sugar. Switch on the hob and stir immediately to prevent the sugar from settling at the bottom of the pan. Continue until all the sugar dissolves, making it easier to stir.
As the mixture starts to boil, froth will rise in the pan and then subside – this is known as breaking the boil. You can hold the mix at this point if your preparing batches in advance, but the water content must be correct otherwise it might invert. Turn off the heat and add liquid glucose, stirring it in before switching the heat back on.
(The easiest way to get glucose out of your bucket is with wet hands. The water helps prevent it from sticking but you must move quickly!)
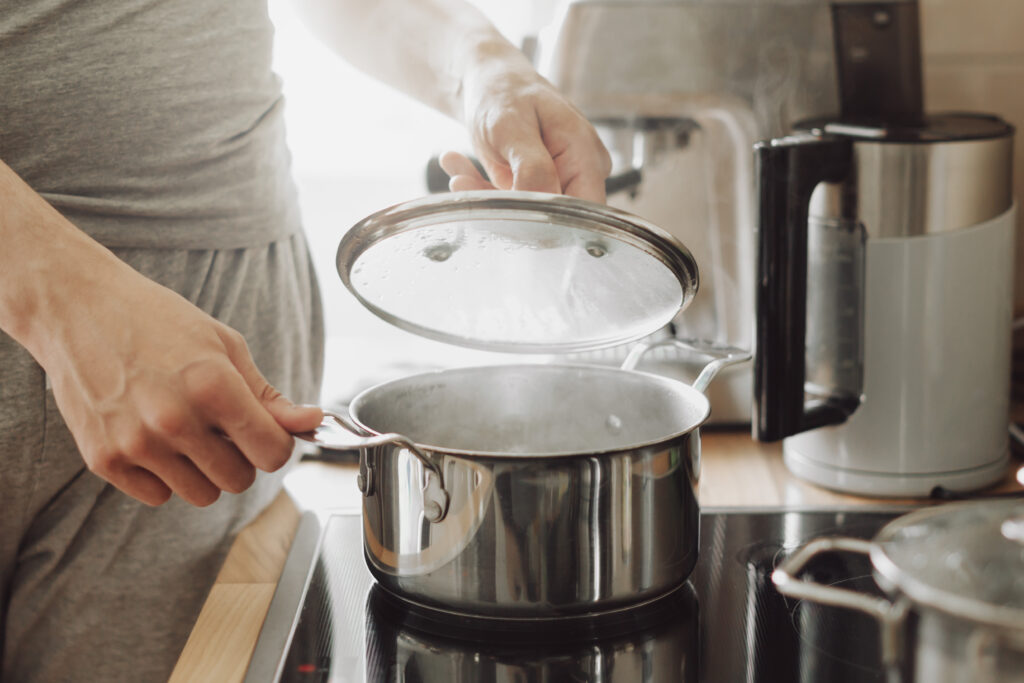
To avoid sugar crystals forming on the sides of the pan, place a lid on the top for a minute or 2. Next, take off the lid and insert a thermometer to keep an eye on the temperature of the candy mixture.
Heat the mixture to 146°C (295°F), and then turn off the heat. Bear in mind that this mix is extremely hot. Wearing gloves is crucial, as any liquid candy on your skin could result in a severe burn.
ADDING THE COLOURS & FLAVOURS
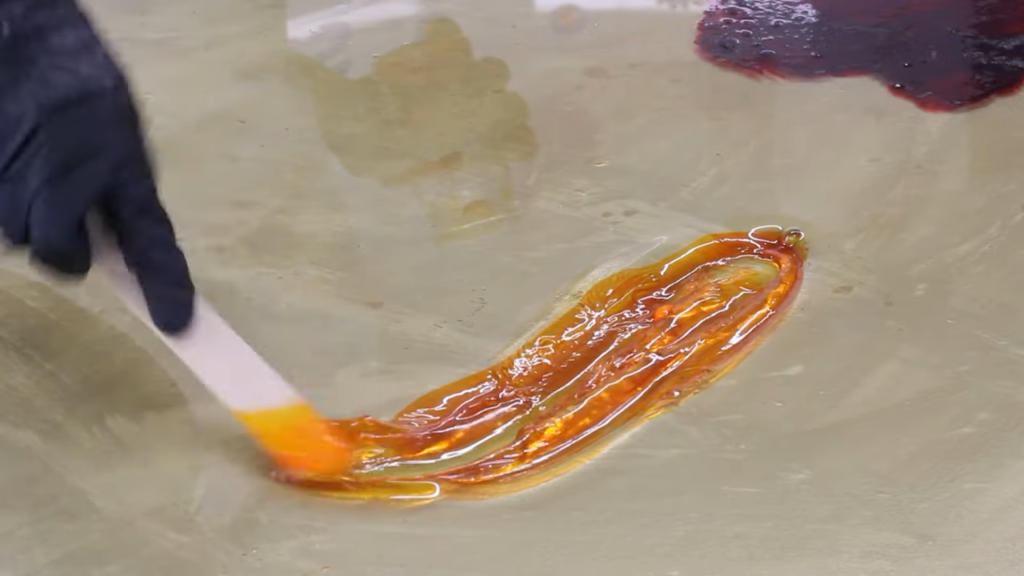
Pour the batch onto a lightly oiled cold surface, ideally a candy maker’s Cold Table with water cooling. For low volume production, a granite or marble slab can be used. If at home, kitchen worktops made from heat-proof stone may suffice but be aware that they will get hot. Candy Cold Tables supplied by Loynds come with moveable bars to prevent the candy from spreading too far and to maintain depth to the batch. Colours and flavours in liquid form can be added via syringes, allowing for accurate measurement and consistent flavour from batch to batch. Stir the liquid into the molten candy and fold in for even distribution, like your kneading dough. If making a batch with different colours, candy maker’s shears can be used to divide the batch into the required proportions.
ACID
To add a bit of tang and enhance the flavour, you can use acid such as Citric, Tartaric or Malic. This should be in a powdered form, and it should be sprinkled onto the batch once the flavours and colours have been mixed in. This will melt into the batch and disperse evenly as you turn and temper it in preparation for further processing. Now you should have an evenly tempered batch or batches of candy that are dry, malleable and free of lumps.
HOT TABLE
Once the batch is coloured and flavoured you can move it to the hot table. The candy will not maintain its pliable consistency for a long time. By default, the candy will gradually harden. To prevent this, we can use a hot table with adjustable electric heating to keep the batch pliable. If working at home in a kitchen, a small round plastic bowl (such as a washing up bowl) can be used. These bowls have thermal properties and placing the candy inside will help to keep it soft for some time. Also, covering the bowl with a kitchen towel will help retain the heat.

DROP ROLLER PREPARATION
The drop roller should be prepared before any candy is made. Ensure that the rollers are clean and dry. Apply a light coating of food-grade silicone spray or use a small paintbrush to apply candy makers’ dust or a small amount of starch powder to the rollers to make them dry.
COOLING SLAB
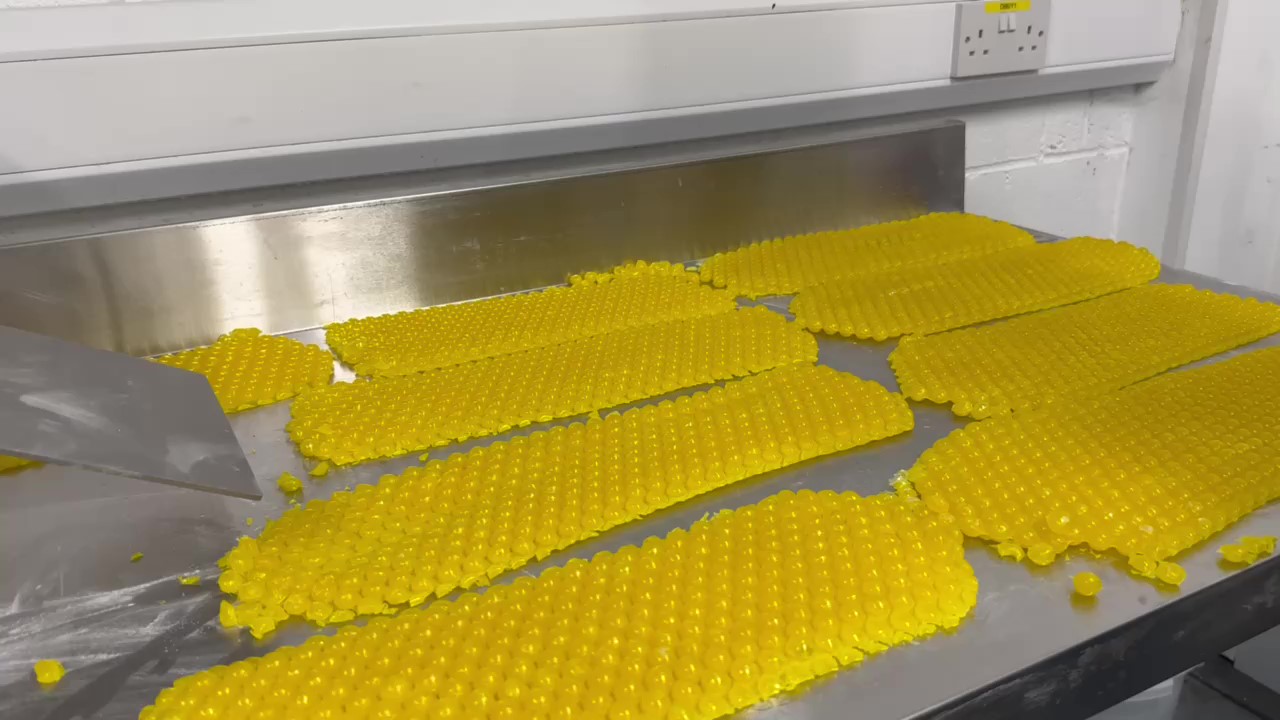
When the candy passes through the Drop Roller, the sheet of formed candy should be placed on a cold surface to cool. For continuous batch production, the most suitable surfaces are stone, granite, or marble, due to their superior thermal properties. For larger batches, a cooling conveyor with ambient fans blowing on it can also be used. Thin steel surfaces can be used, but they tend to heat up with prolonged use, which can impede the cooling process. If using steel, it is recommended to use a thickness of at least 1.5mm. For one-off batches on steel surfaces, it is recommended to use an ambient fan to blow on the candy. Candy cooling tables can also be used, but the use of cold water is not necessary as it may cause condensation on the surface of the table, which could transfer onto the candy.
DROP ROLLER PRODUCTION
Keep the tempered batch on the Hot Table. From the batch, we need to form sheets of candy to the width of the Drop Roller. The thickness of these sheets is crucial as it will affect the final shape of the candy as it travels through the rollers. To create the correct sheets for your Drop Roller, use gauge bars. Place two gauge bars, the correct width apart, on the Hot Table and place a portion of candy between them. Use a rolling pin to roll the candy into the correct size sheet. The ideal thickness should be slightly smaller than the impressions in the rollers. As the candy travels through the rollers, the impressions will bite into the candy and cause it to expand, compensating for the thinner initial thickness.
FEEDING THE DROP ROLLER
The Drop Roller can process strips of any length. Some people may use a pre-forming machine before the Drop Roller to automatically roll the confectionery to the correct size for feeding into the machine. However, cutting and rolling by hand is suitable for most small-scale applications.
Drop Roller production can be done by one or two people. However, If one person is doing the production, they will need to form the strip, pass it through the rollers, and carefully move it to an area of the table for cooling. If two people are working, one person can prepare and feed the strip into the Drop Roller while the other person carefully places it in an empty section of the slab for cooling.
A fan should be placed blowing cold air over the formed confectionery. This helps them maintain their shape and speeds up the cooling process. If you leave warm formed confectionery on the table, they may develop flat spots on the bottom and lose their shape. Ensure that the cold air is not directed towards the Drop Roller as the cold air blowing on soft confectionery can harden the outside and cause cracking of the sheets as they pass through the machine.
BREAKING UP OF THE FORMED CANDIES
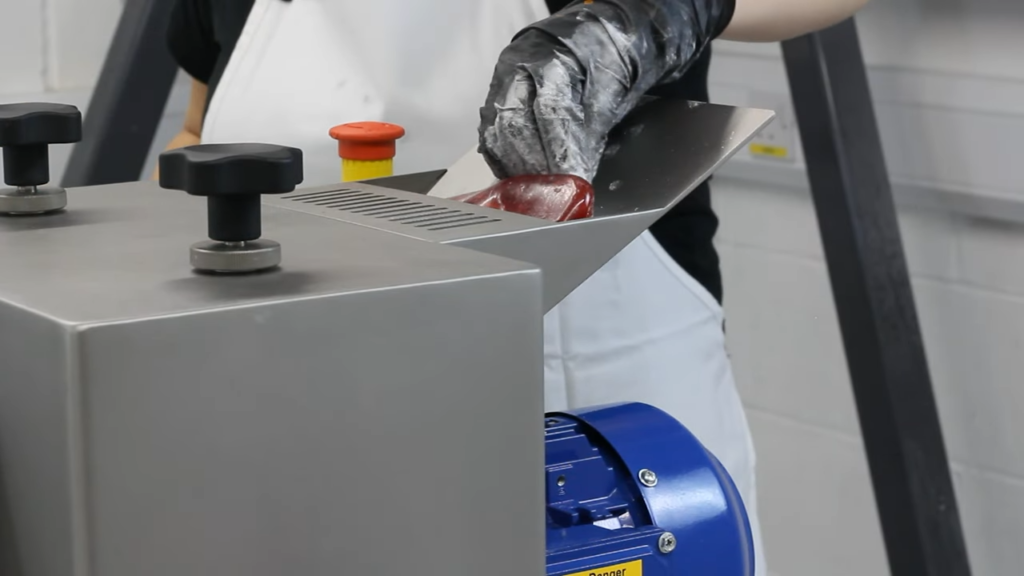
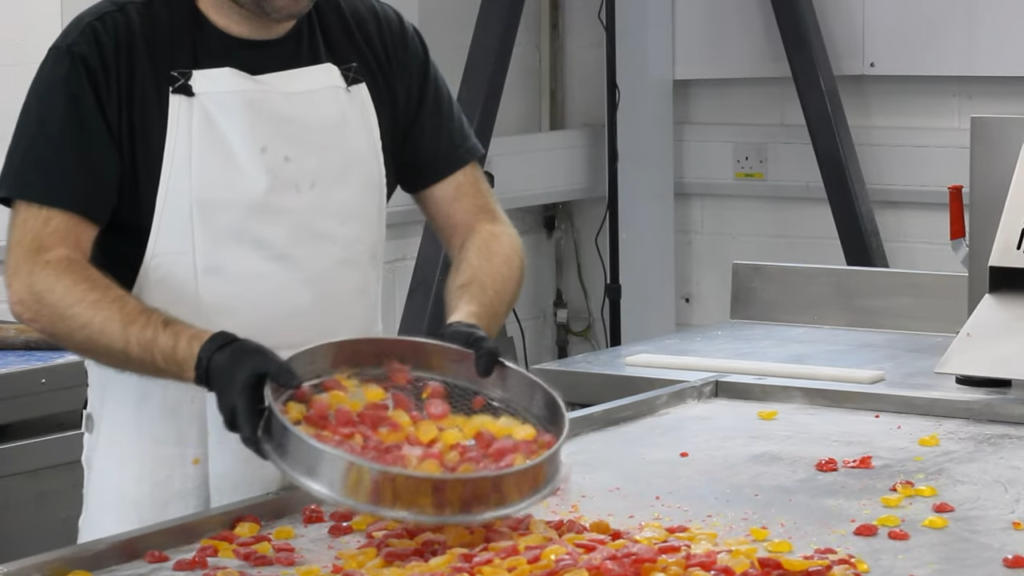
Once the formed sheets have cooled on the slab and have become brittle, use a flat scraper to break them up. Carefully slide the scraper under the candies with one hand, while using the other hand to gently lift and drop them onto the slab, breaking the web into individual candies with sharp edges. To remove any remaining webbing, the candies can be further processed by rubbing them by hand or by shaking them in a large bucket. Finally, sift the candies through a sieve to ensure smooth and web-free candies.
CRYSTALLISATION PROCESS
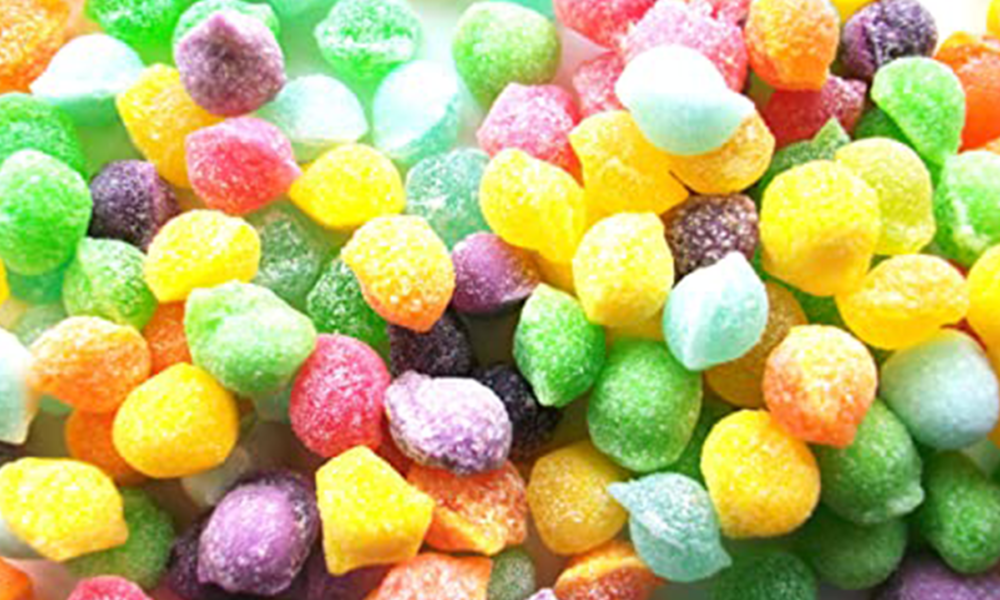
A final process of crystallisation can be carried out depending on your preference. Boiled candies tend to stick together if they don’t have protection on the outer surface, this is due to the hygroscopic nature of the candy which causes moisture to sit on the surface, making the candies stick together. Additionally, if candies are not boiled to the correct temperature or if inversion has developed in the sugar mass, this could cause the candies to fuse together after a period of time. To prevent this, candies are typically wrapped in moisture-proof film. However, as an alternative and cheaper option, crystallising them in a fine crystal white sugar (caster sugar) can also enhance the appearance of the candies and prevent sticking. There are various ways to do this and below are 2 examples.
EXAMPLE 1 – STEAM
REQUIRED
- 1 Pair of Heatproof Gloves
- 2 Stainless Steel Sieves approx 300mm in diameter or bigger with raised sides and a 6mm mesh or bigger
- 1 Large Plastic Bowl
- A Pair of Thin Latex Gloves.
PREPARATION
Firstly, Add water to a pan & boil. Then, half fill your plastic bowl with fine white dry crystal sugar.
METHOD
Put on heat-proof gloves and add some candies to a stainless-steel mesh sieve. Hold the sieve over a small pan of boiling water and shake it to distribute the moisture around the candies. Then, transfer the moist candies to a bowl filled with sugar, switch to latex gloves, and mix until fully coated.
Use a second sieve to shake off excess sugar and transfer the candies to trays. Allow the sugar to dry for 1 hour in a warm place. Finally, re-sieve the candies to remove any remaining excess sugar.
EXAMPLE 2 – WATER
REQUIRED
- 2 Large Plastic Bowls
- 1 Stainless Steel Sieve approx 300mm in diameter or bigger with raised sides and a 6mm mesh or bigger
- 1 Small Bowl of Water
- A Pair of Thin Latex Gloves.
PREPARATION
Firstly, Half fill 1 of your plastic bowls with crystal sugar
METHOD
Begin by placing the candies in a clean, empty plastic bowl. Using sterilized hands, wet the candies with cold water, and shake off any excess water. Gently massage the candies together to create a tacky surface.
Next, transfer the candies to a bowl filled with sugar, ensuring they are fully coated. Use a sieve to shake off any excess sugar, then transfer the candies to trays. Allow the sugar to dry for an hour in a warm place. Finally, sieve the candies again to remove any remaining excess sugar, resulting in a professional finish.

Tips
- If you do this process while the candies are set but still warm the heat from the candies will dry the outer sugar more quickly.
- Do not let the candies go cold and sticky before crystallising.
- If the sugar goes wet you are wetting the candies too much, reduce the wetness. If the candy is not fully covered in sugar, you need more moisture on them.
- The remaining sugar can be dried and sieved and used again.
- Excess sugar can be sieved and used to make candy with, as long as there was no acid in the candies
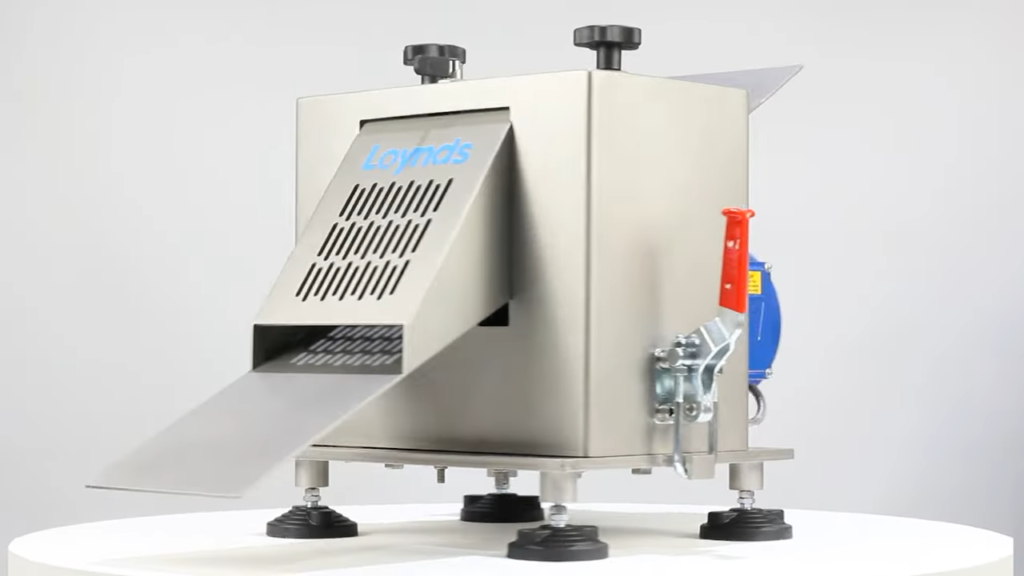
Featured Machinery

Get In Touch!
If you need more help or information, please do not hesitate and contact us today! We are more than happy to answer any questions you may have.